Hello, and thanks for checking out the Vixine Cat!
This page serves as a mini tour of features, and documentation so you understand what’s going on under the hood as you begin to customize or make content to pair with it.
This page serves as a mini tour of features, and documentation so you understand what’s going on under the hood as you begin to customize or make content to pair with it.
The demo is uploaded directly from the default full version, with the limit of some customization blendshapes being on a slider instead of being able to mix them, and of course being locked to the provided skins.
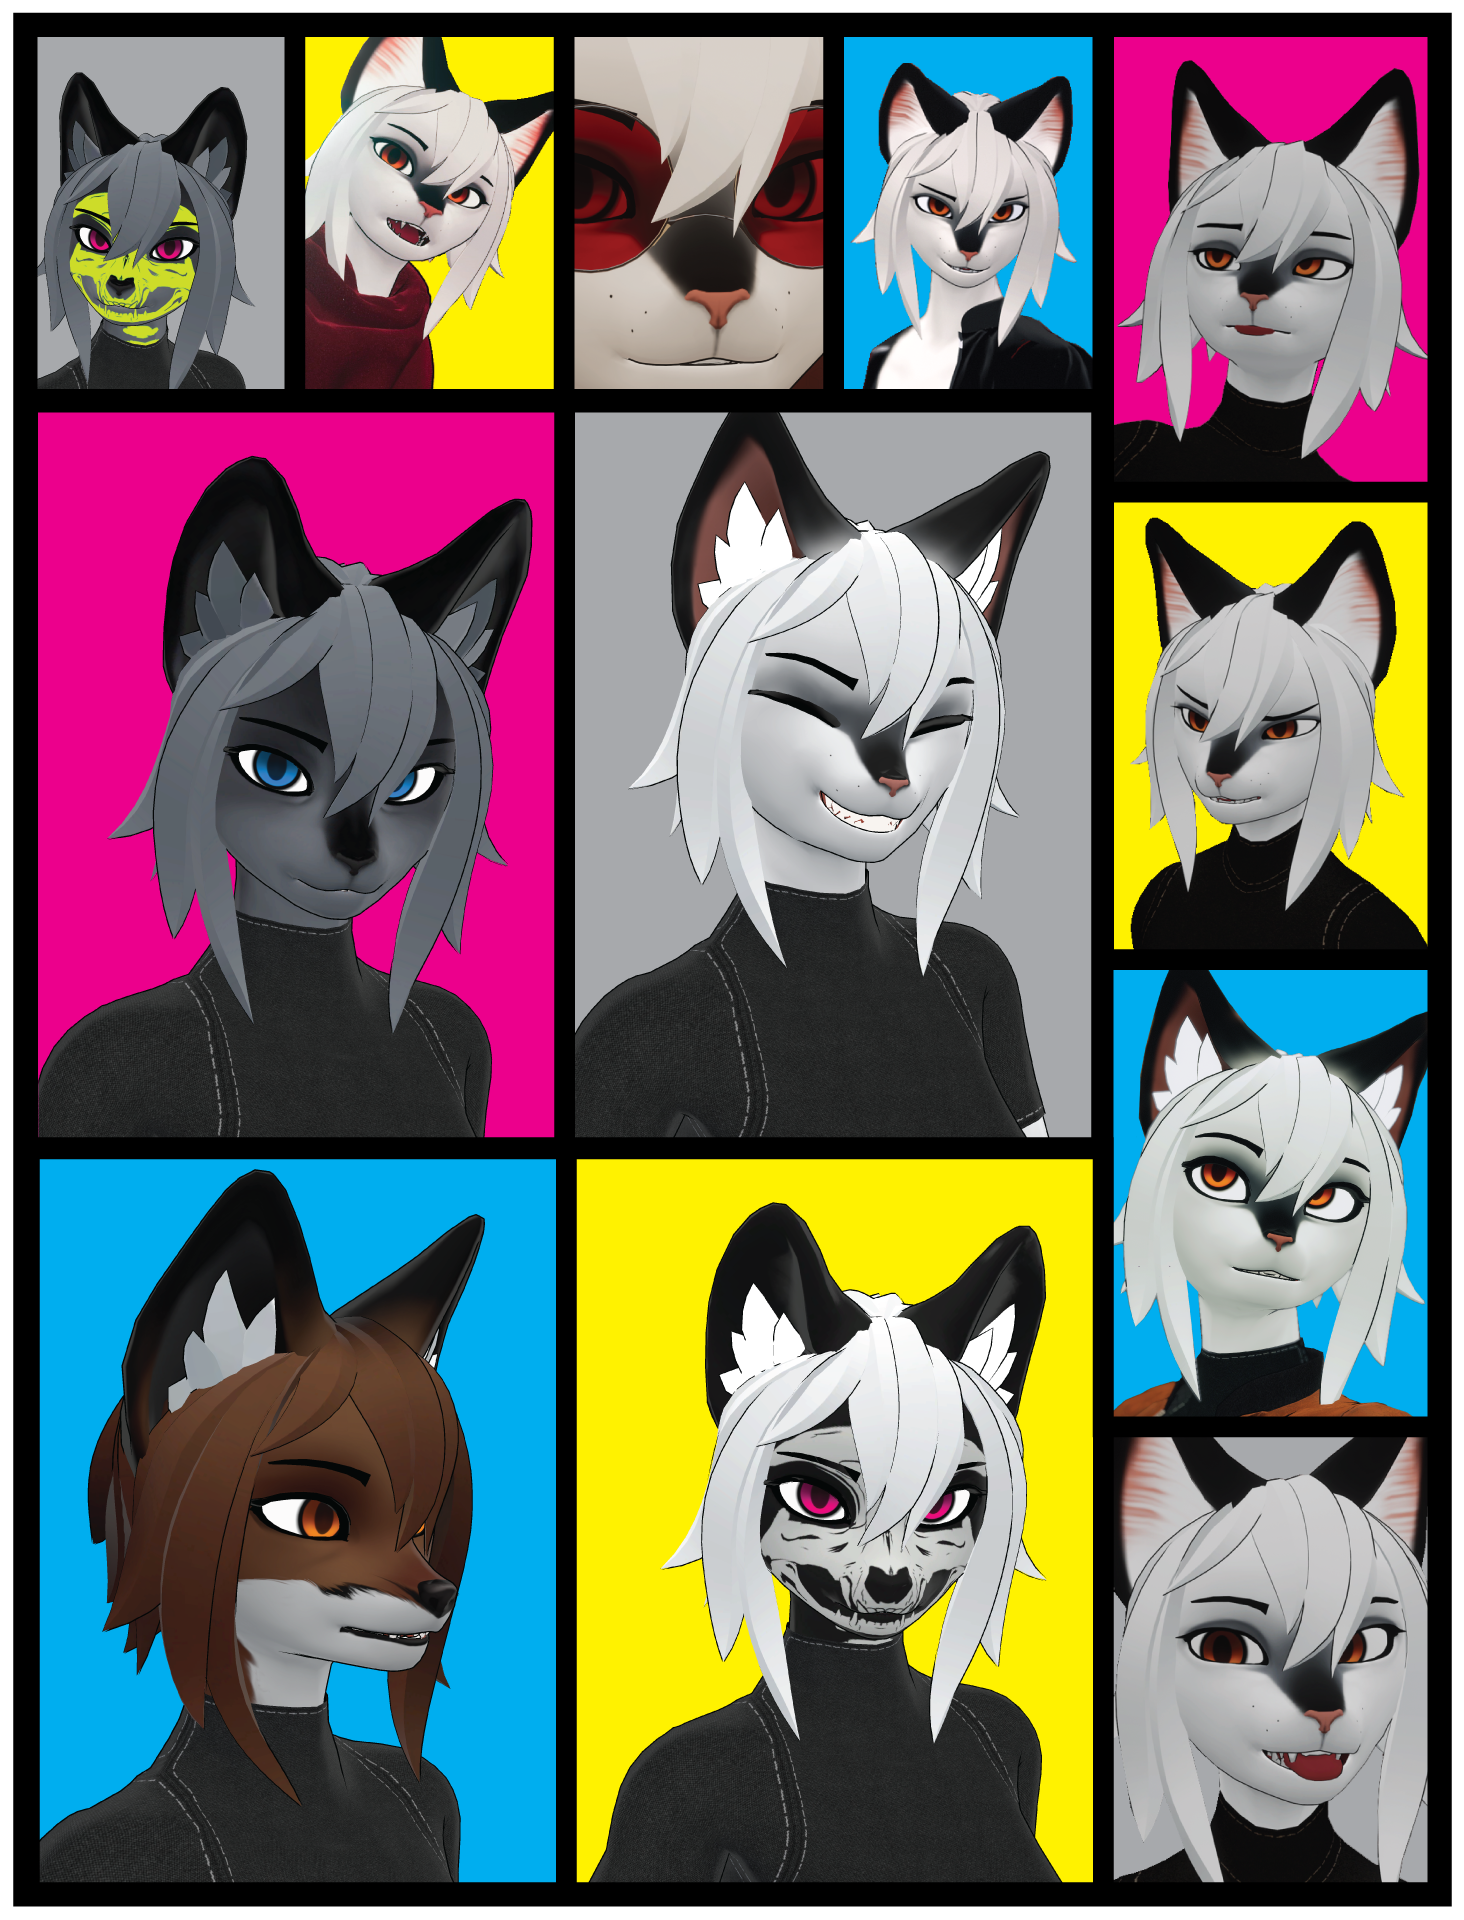
The demo version (included in the package) has a Customize panel. This is a full tour of the physiology options available by default. There are some limitations, such as the face shapes being a straight slider of Cabi|Cat|Vixi, when they can be paired up in more interesting combinations by directly setting your blendshapes. (maxing both out at 100 just makes her look disappointed though)
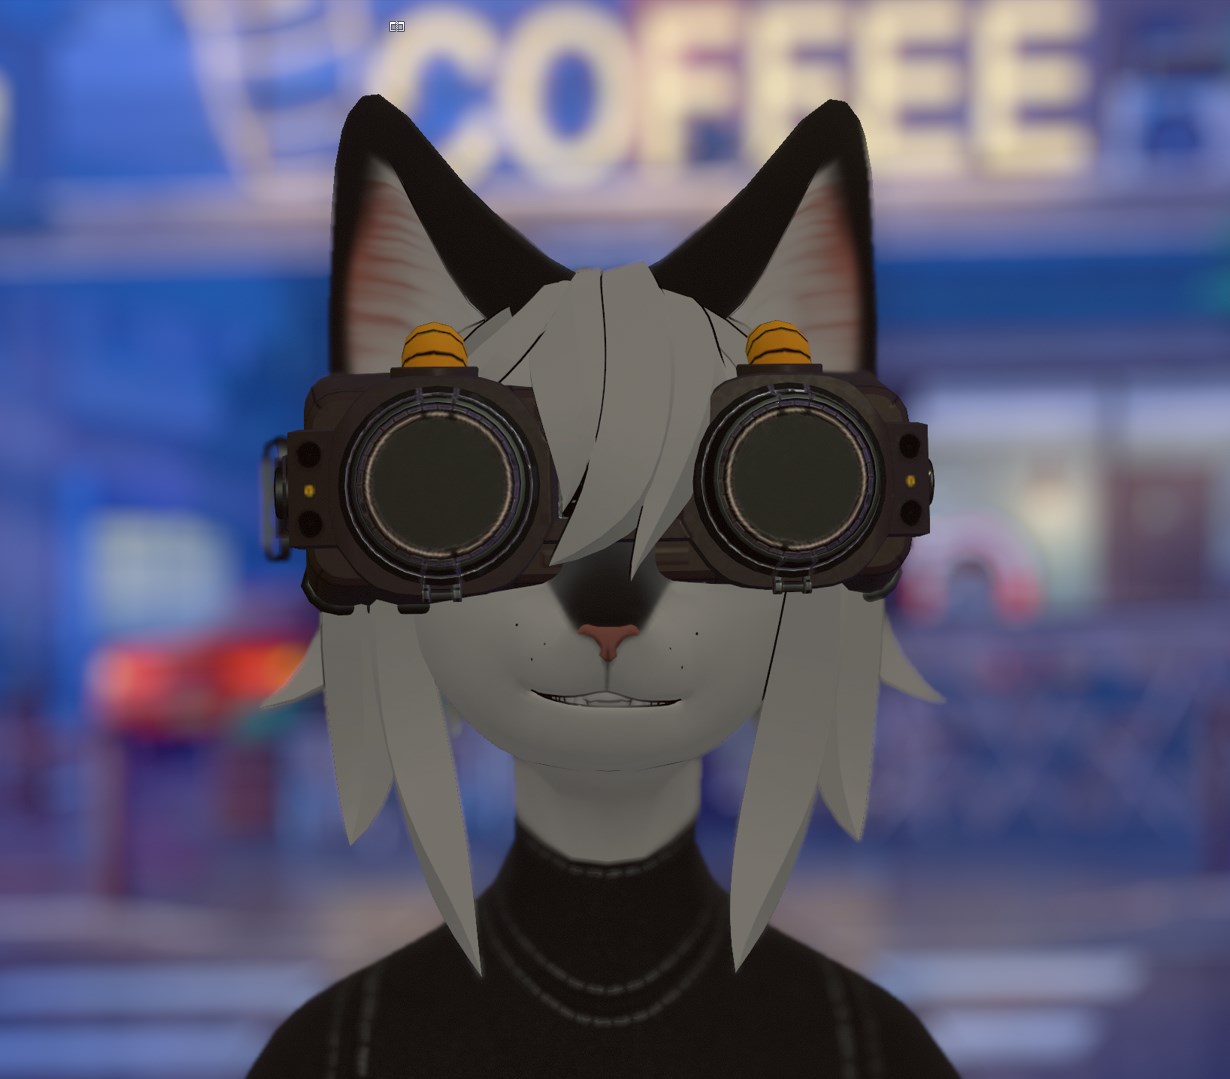
Starting with the basics, I’m not a big user of hand gestures and left it simple. Right hand has most of them hooked up, but there are a few surprises in the blendshapes for full owners to add and rearrange.
As an alternative to gestures, in Expressions > Face Control, there are several 2D puppets, letting you fine tune your expression, with ‘modifiers’ being eyebrows and mouth openness. ‘Big Grin’ is separated to a button, as it swaps out your teeth and can’t just blend between other expressions naturally. The secondary teeth speak with your visemes (and look fine if you swap them out as your primary teeth!), but the grin’s exaggerated expression causes some awkward motion when speaking at the same time.
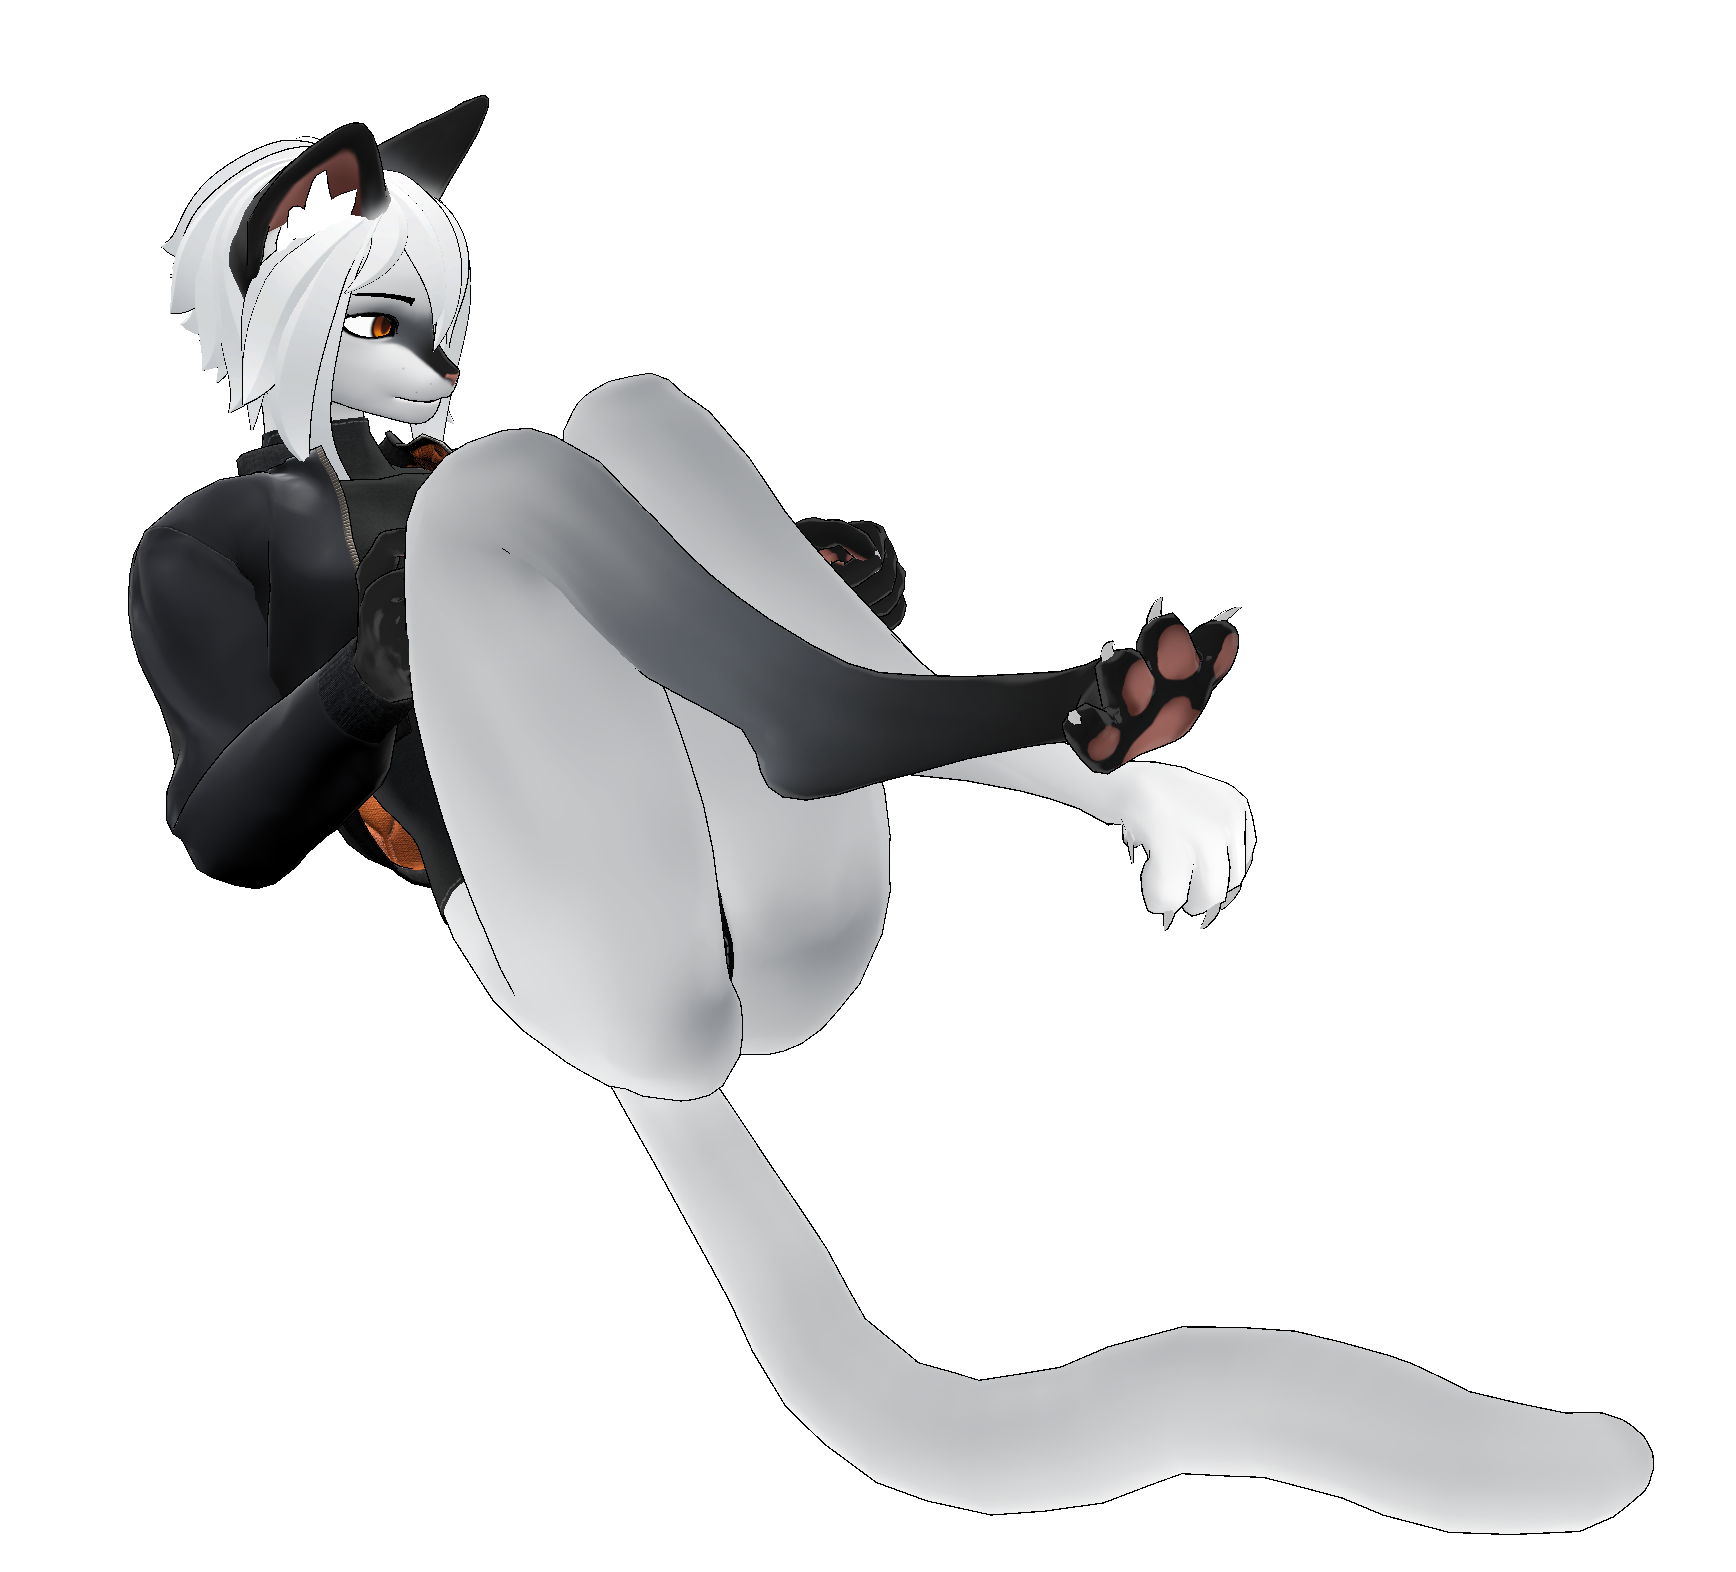
In Expressions > Fidgets and Toggles, you’ll find puppets for your ears, tail, and toe posing, as well as toggles for the animated tail sway and ear twitches. If you’re a fullbody user, or having fun with MMD worlds, turn on ‘Digitigrade+’, as it performs some more complicated leg flexing based on a combination of factors, including your foot angle!
with some testing, I’ve found the following settings work best for most people:
There are three examples in the level:
The center, most familiar example, is exactly what I’ve been using to upload the demo. It has all of the parameters set up to take advantage of the customization sliders, skin swaps, and so on. She uploads as-is at Medium quality.
On the left is the ‘Simple’ example. This model has a separate param and main menu, losing the ingame customization. This model is for you to fine tune all of the blendshapes in unity or utilize a custom edited FBX. Be sure to match your body blendshape settings on all of the clothing items!
Finally on the right, is the ‘Minimal’ sample. It’s identical in setup to the ‘Simple’ version, but clothing not in use was deleted off the body, and their ears and butt bones were surgically removed to bring it up to standard at Good quality
By default, everything is set up with Poiyomi 8.1 Outline. The reason I chose this shader, aside from the toonish style, was the “UVTile Discard” functionality. (I’ll get to this in the next break)
What this means for YOU is, animations for certain clothing pieces use this function to toggle variants, and to hide the body underneath. For instance, The bodysuit and one piece swimsuit are the same model, with the limbs turned off for ‘outfit_bodysuit-skimp’. If you manually hide the arms/legs of the bodysuit, the animation will mistakenly hide the body’s shoulders and pelvic region! Be careful when modifying files.
The various toggles for a given material are under poiyomi’s Special FX > UV Tile Discard function. The UV2 on the body material is set up specifically to support the Starter Clothing that came with the base. In the future, I may update the body with corresponding UVs, and iinstructions on how to update this yourself if updating the base mesh is out of the question.
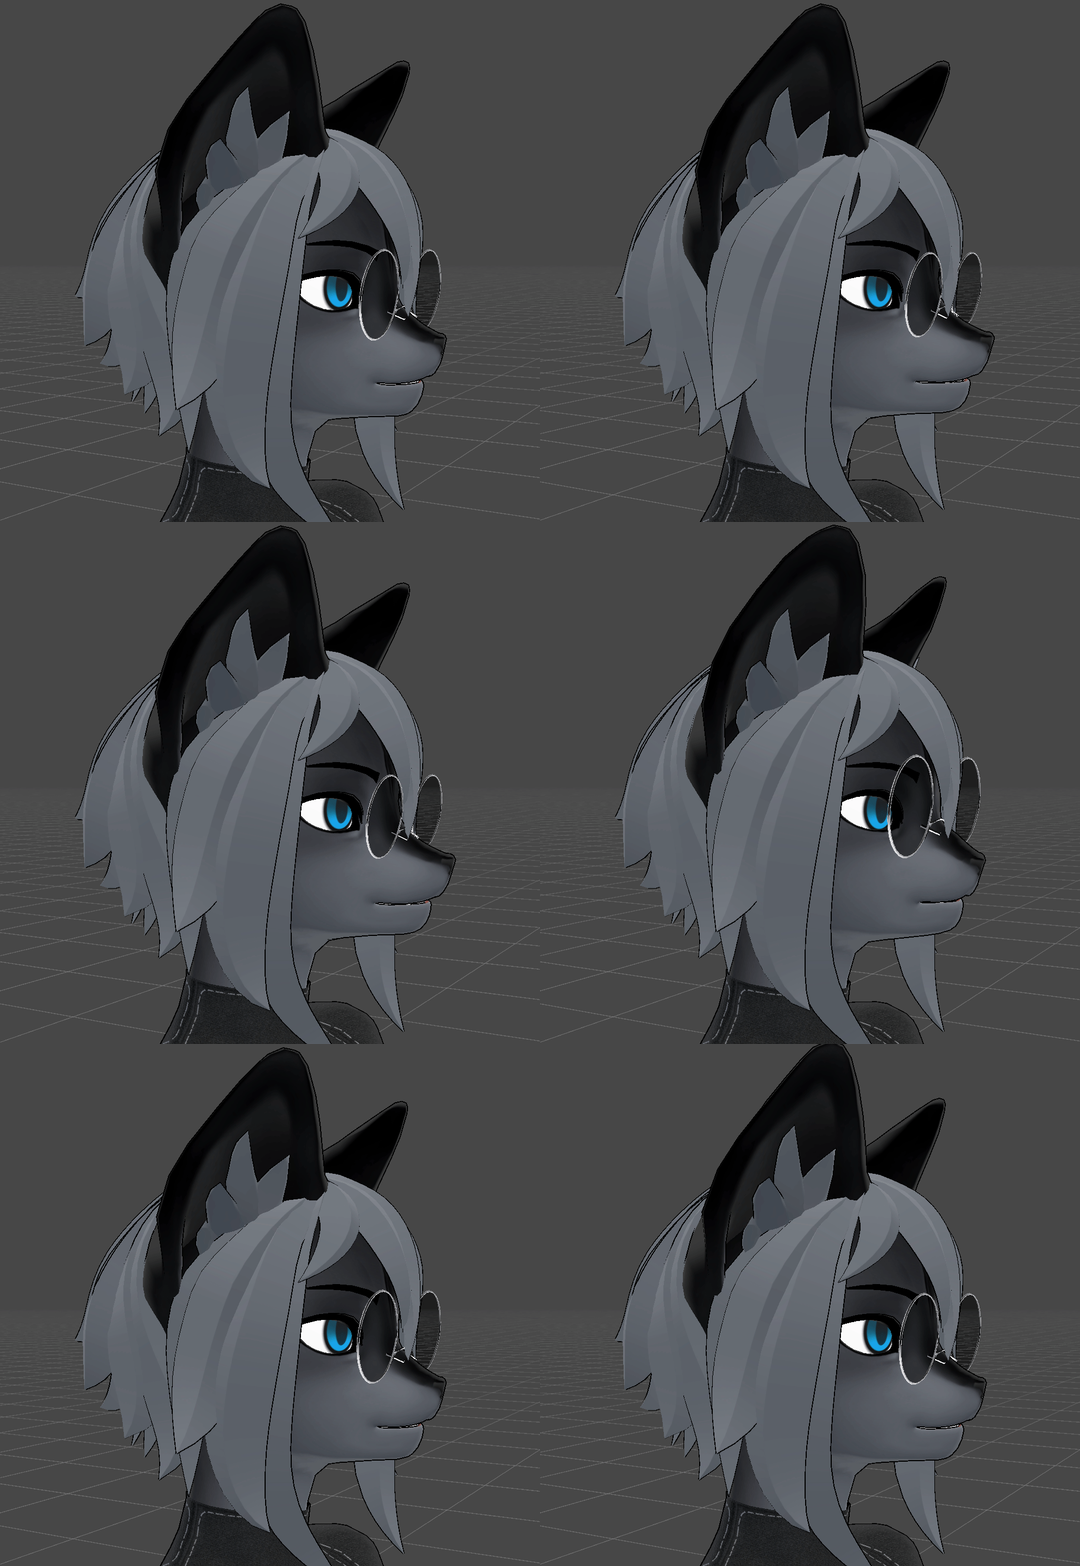
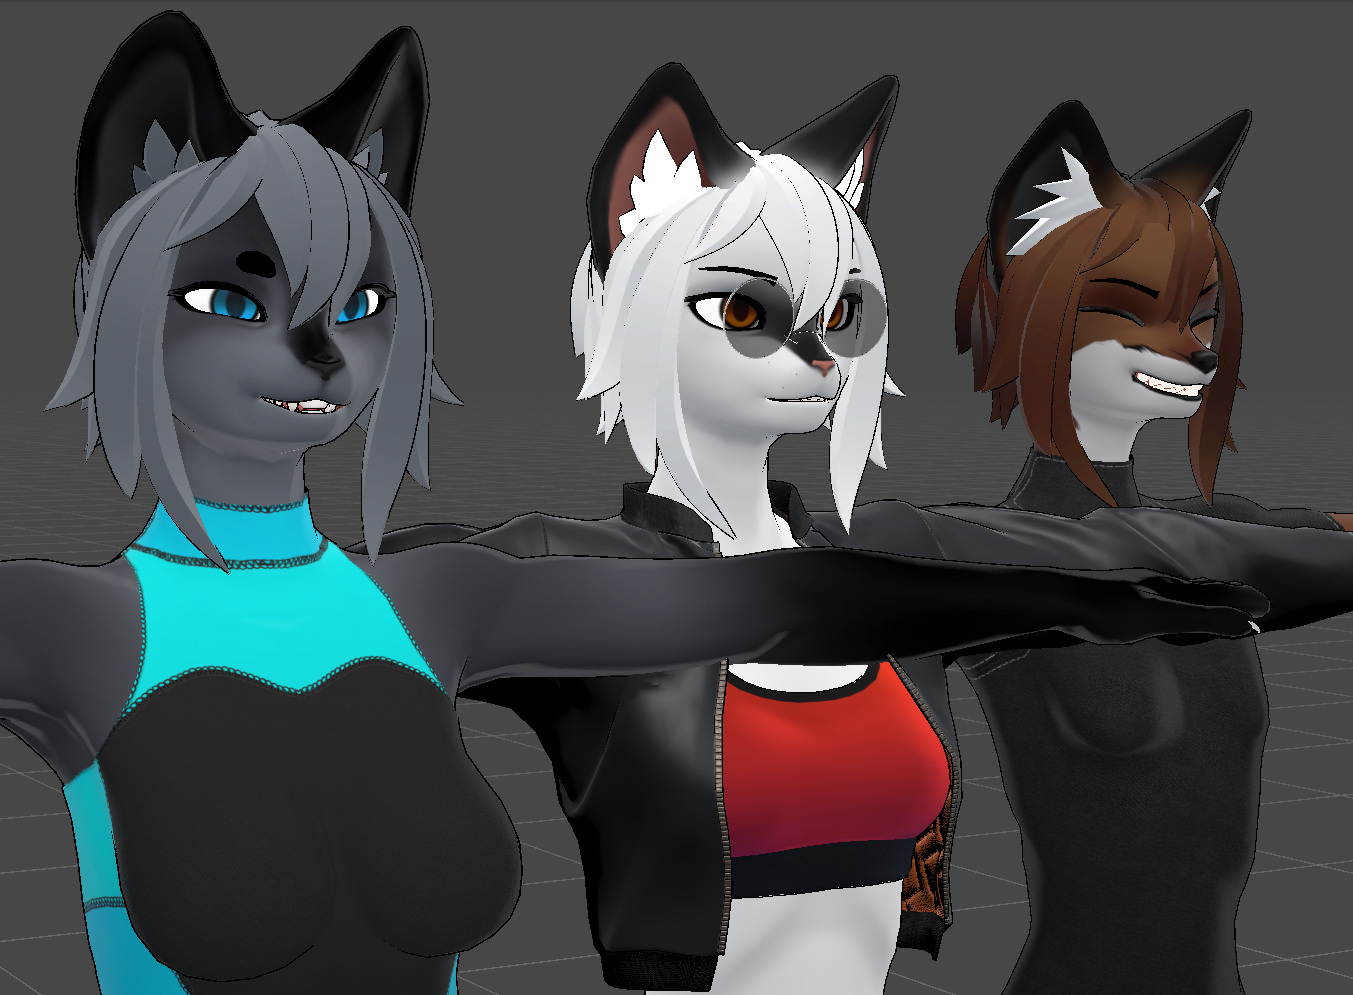
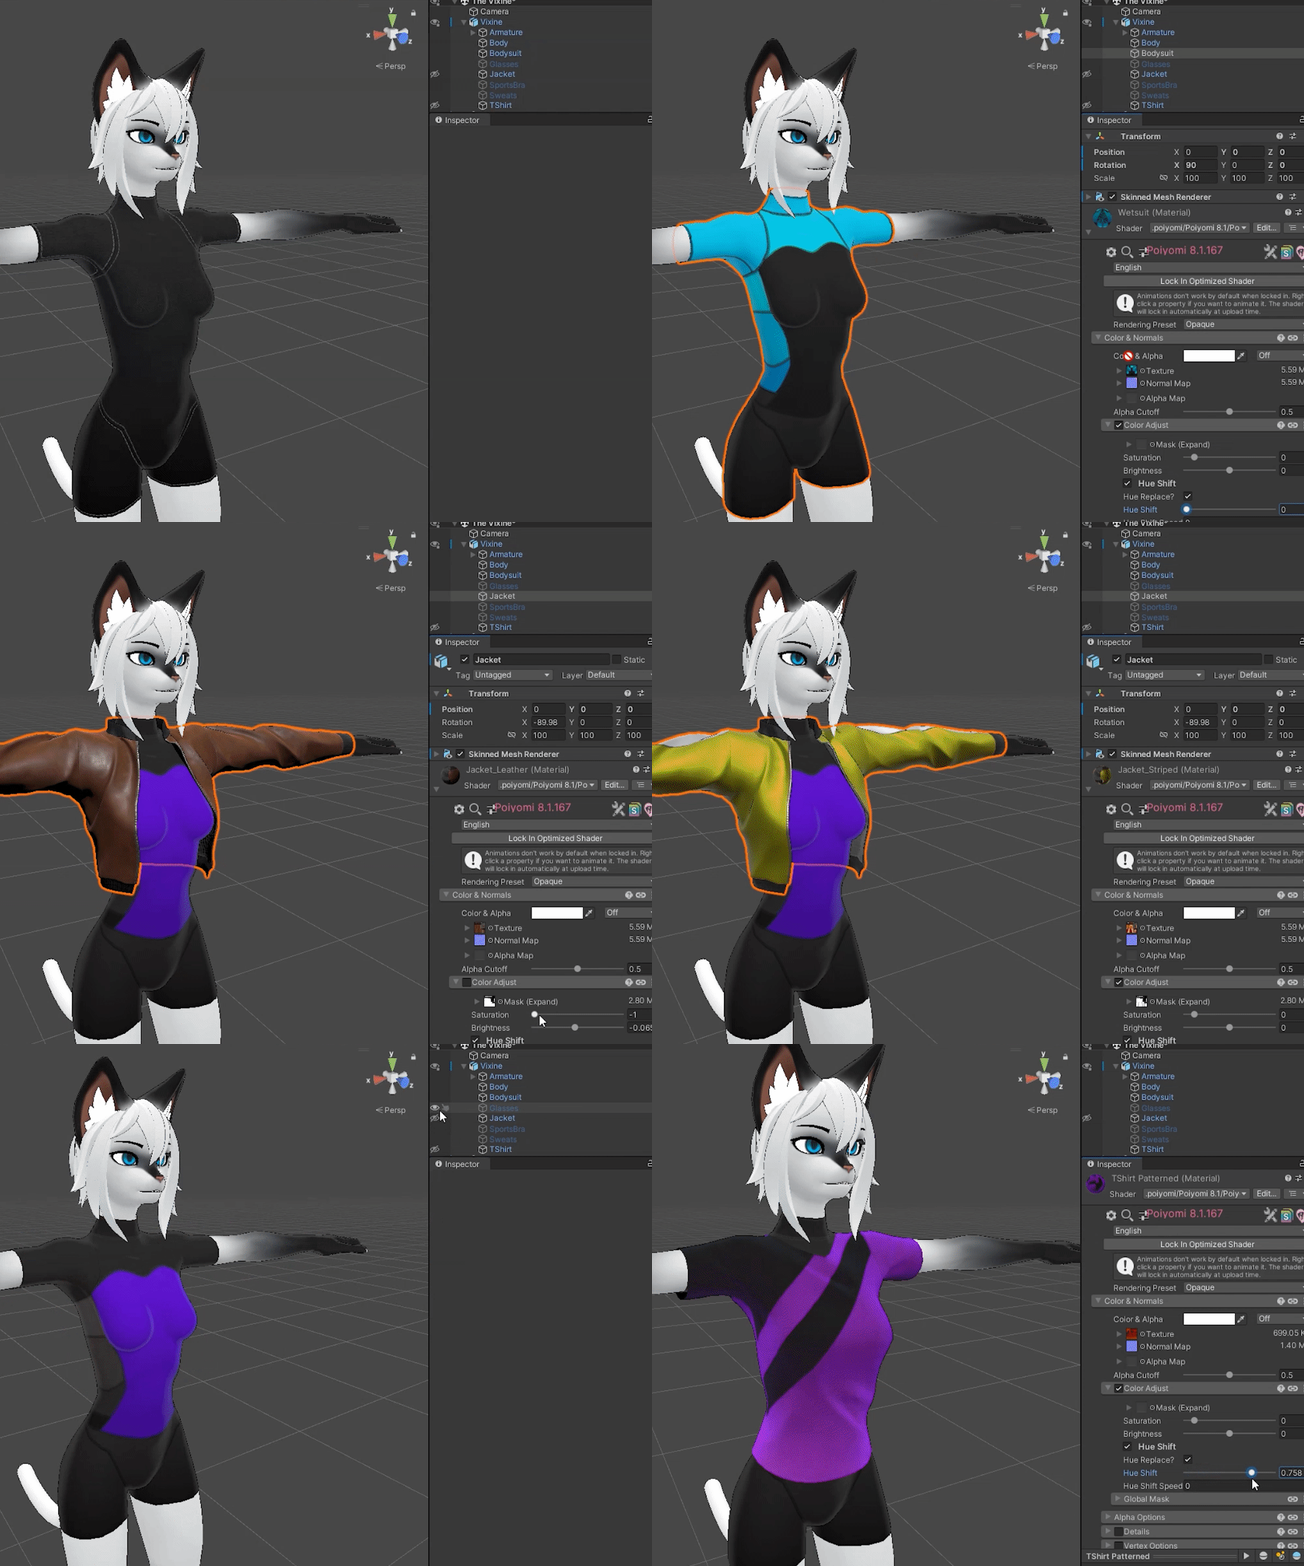
I’ve provided numerous alternate textures in the Materials/Starter Outfits folder, as well as the supplementary Clothing_Textures.zip, to aid in adding your own touches in. You’ll find there are premade materials for each variation of the textures, IE ‘Athleisure’ vs ‘Athleisure Sporty’.
To swap out the color set for any of these, first (if you haven’t already) Install Poiyomi 8.1, and click ‘Unlock Shader’ on the material you wish to update out. Drag and drop your preferred texture into the material, and you’re done! After that, you can fine tune colors via the Color Adjust settings just below. For textures with complex color palettes (again, looking at athleisure), there is a mask that prevents the base color of the outfit from being re-tinted alongside the vibrant palette changes we really want.
Nothing beats doing the edits directly to the texture, but I wanted to be sure it was easy to tweak right out the gates, and surely this provides some extra tools to those who’d enjoy audiolink and emissives and the like.
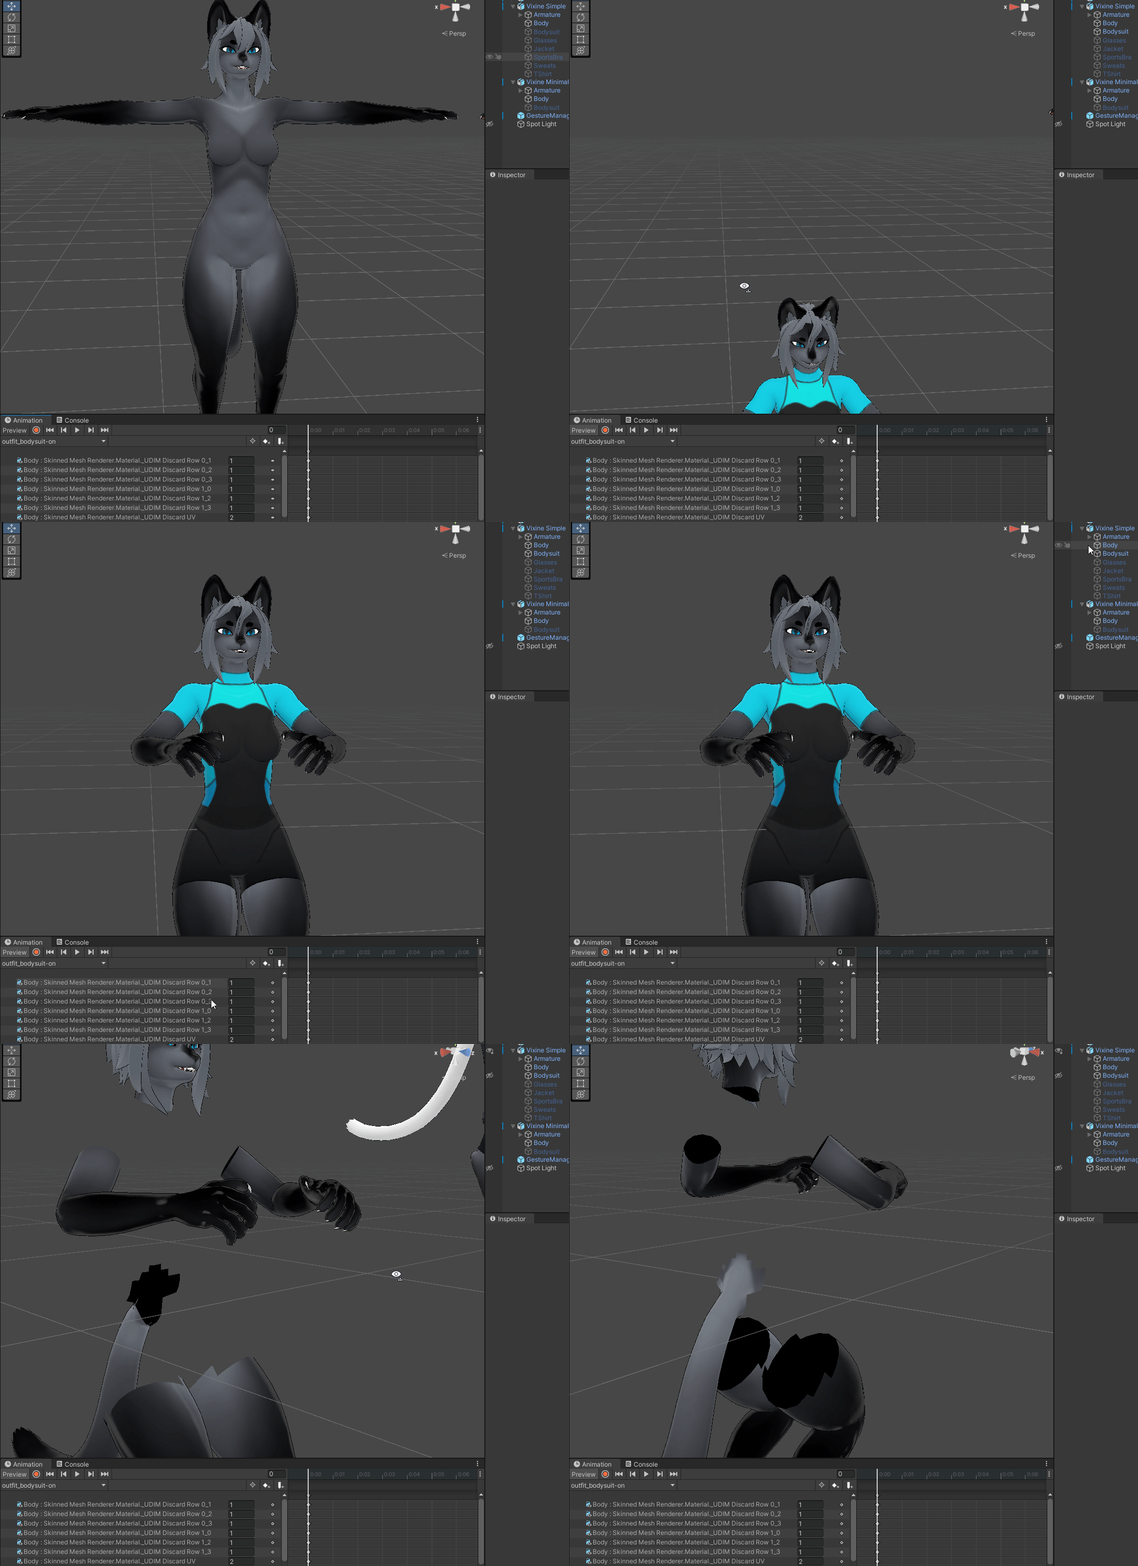
When adjusting the face shape, note that the glasses are weight painted to the Head/Accessory_Face bone. In the demo version, this bone’s position and scale is animated to accomodate for the length and breadth of the snout, but on the Simple setup, you’ll have to place it manually.
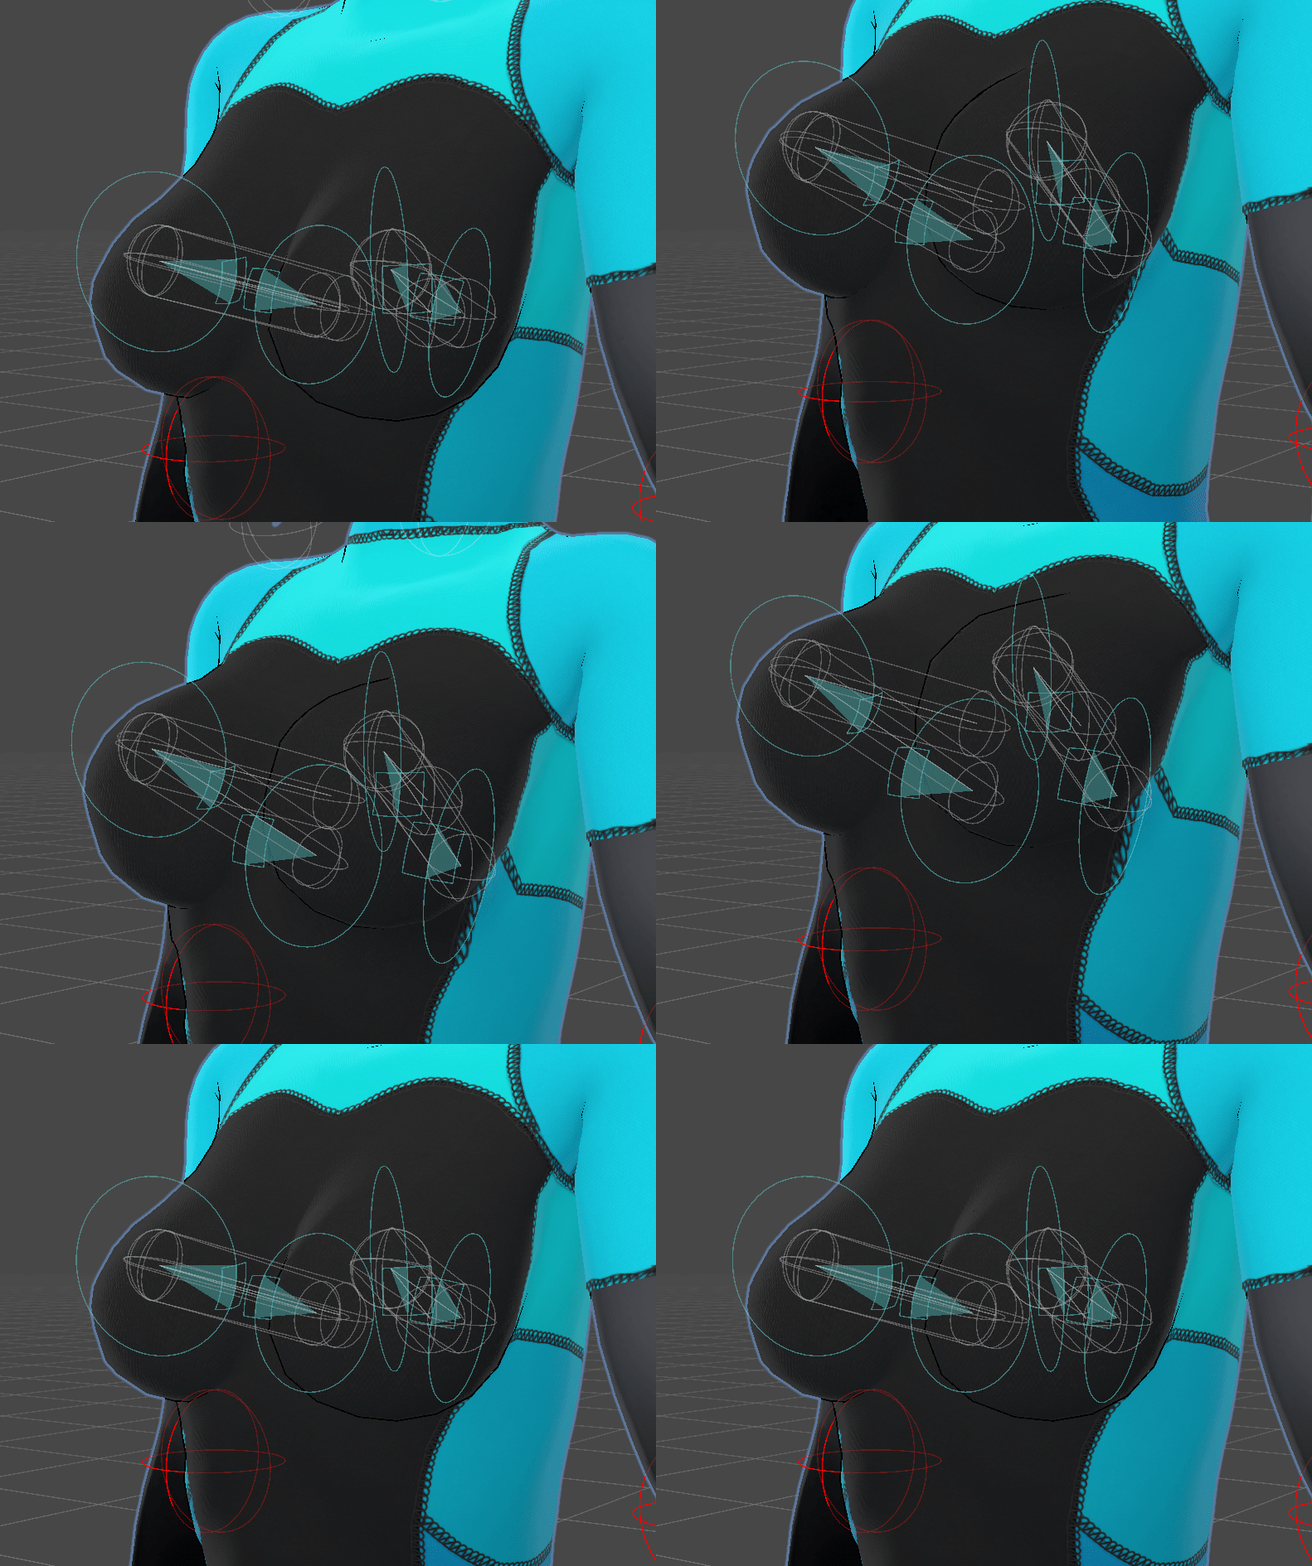
You may also have noticed, there’s two breast bones, but not how they normally look. This double-back mechanism results in a natural heave for small to medium chests, where the inner mass of the boobs is more capable of shifting around and bulging the breast out in a direction, rather than linearly stretching the skin. (more wobble, less flop)
To adjust the effect, you will want to play with the Pull slider on the ‘L/R breast base’ bones. Also note, they have ‘Ignore World Physics’ at 100%, which results in them being stiff when you try to test-jiggle the armature around in unity. Set it to 0% for testing, but I recommend returning to 100% for upload, as it prevents them from flapping in the wind as you move with your controllers/keyboard, but will still have physics from your own tracked/animated motion.
On top of that, the ‘outfit_sportsbra-off/on’ animations have control over the Pull slider by default, as the bra tightens up the effect a bit. Go figure! It prevents some odd fold-over where the boobs meet the elastic band underneath them. Either edit your settings in the sportsbra anims, or delete the parameter from both.
One last note, they have gravity falloff, and when laid on your back or sides, this bone setup helps to believably roll the chest around the ribcage while pushing their weight around. (I might make a part 2 to this gif)
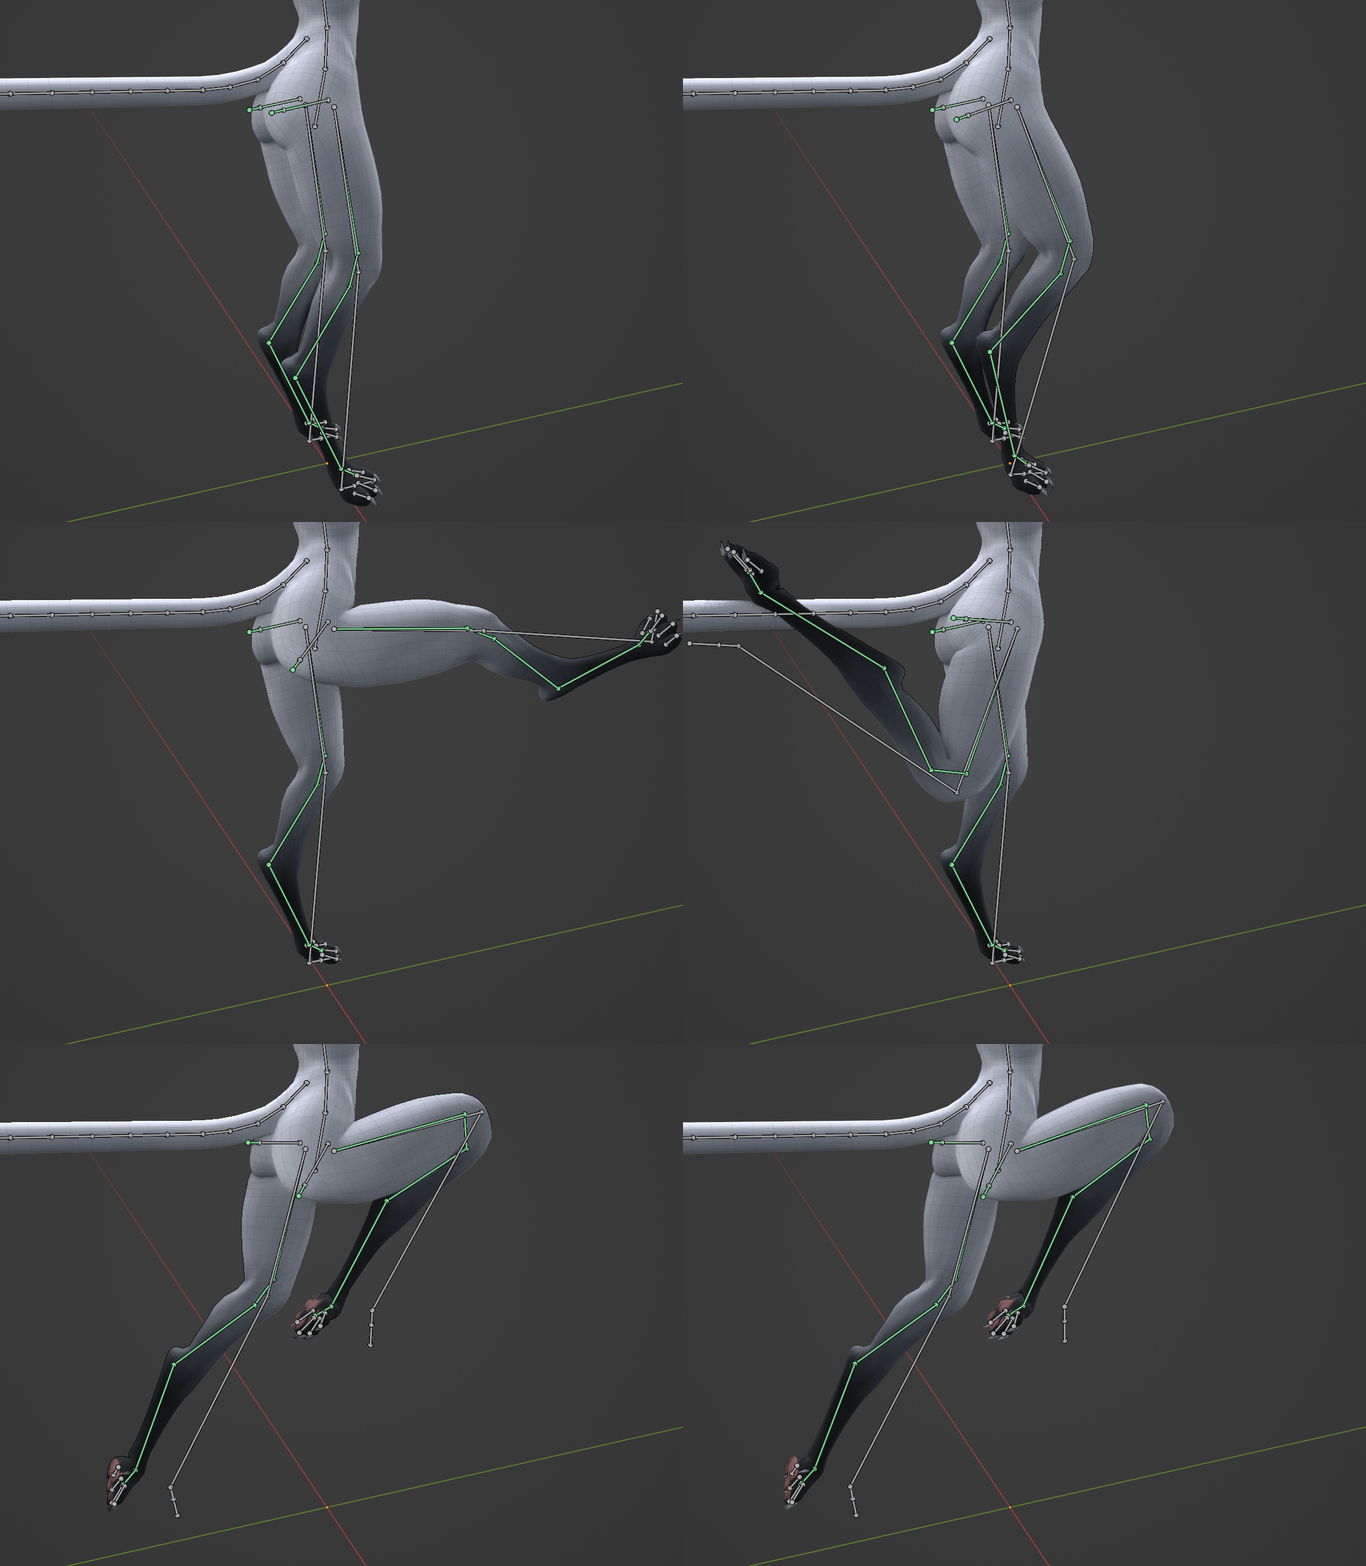
There’s 2 sets of legs! To combat the stiffness of just using the bipedal thigh + shin, and fixed-hinged-ness of the more common parallel joints solution, I opted to do what we in the business call “wing it because how hard can it be”. What I ended up with is a headache, but also a knee, shin, and footstalk chain, which are constrained at various ratios to the ‘Plantigrade’ leg bones, which VRChat is controlling.
By default this is turned off (with the knee/shin still operating at 60/60 with the ‘real’ shin to complete the fold-over without collapsing). Activating the ‘Digitigrade+’ animation (under fidgets+toggles/toggles) will see the shin and footstalk more naturally flex in relation to your foot angle, knee bend, and how high you’ve lifted your leg in relation to your hip. This may of course result in the foot not being 1:1 to your real foot’s trackers, but grants a cleaner pose. This is why I’ve left it as a toggle!
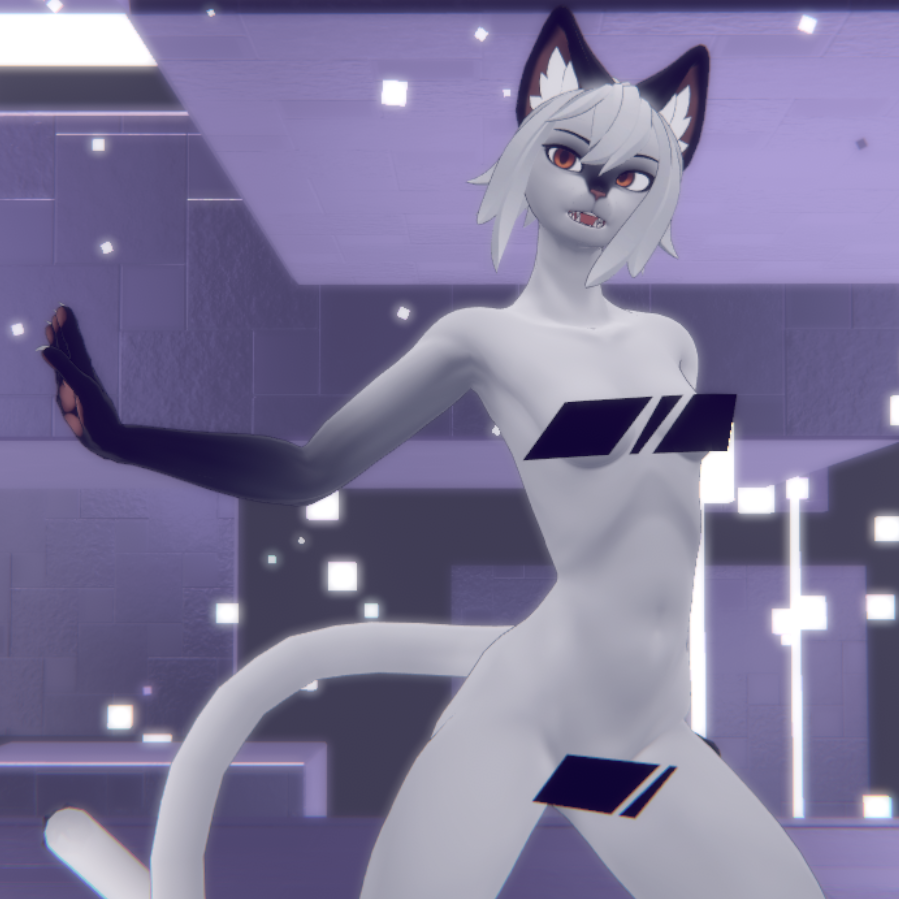
Regarding NSFW content: The gumroad download does not come with this by default, only supporting infrastructure via some geometry and blendshapes on the body mesh. You can visit This Page for more information, and to acquire a VRCFury addon that adds a toggle to your settings, relevant materials, and some under-the-hood supporting files to your project.
This page is being rewritten into several sub-pages! Keep an eye on twitter. She’s all but feature complete now and I can focus on docs and accessories!